
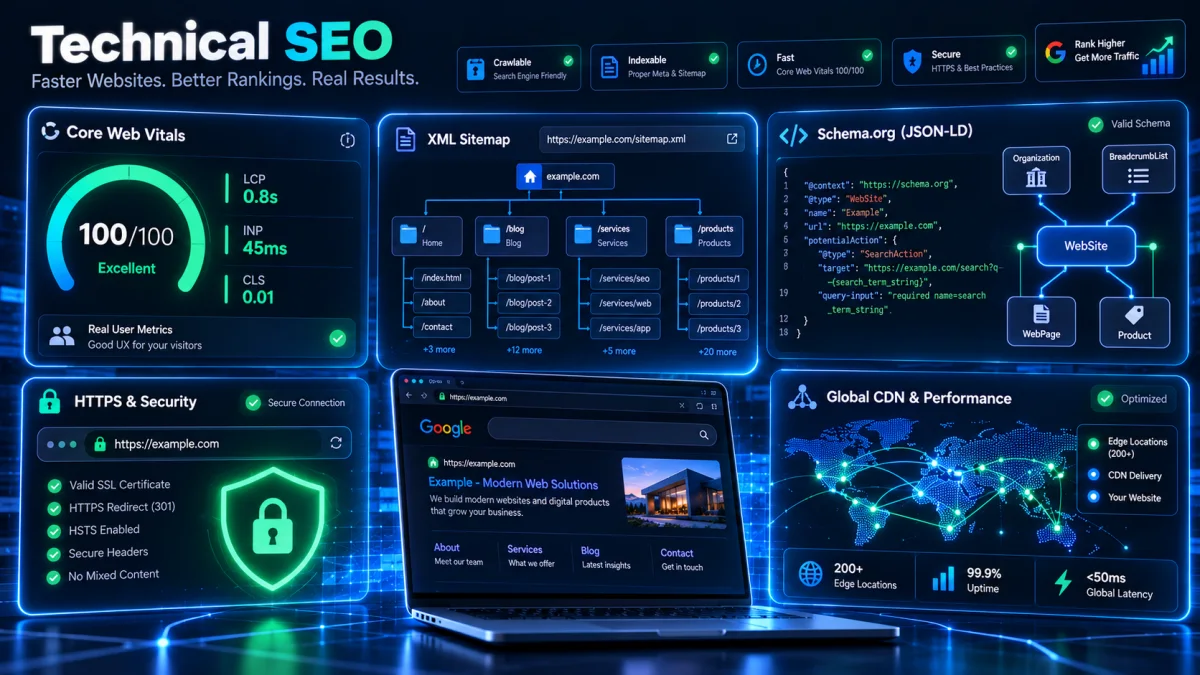
Publishing well-researched articles is only half the ranking equation. If search engine crawlers waste crawl budget on parameter URLs, encounter conflicting canonical directives, or wait 800 milliseconds for uncached PHP responses, even your strongest tutorials will struggle to hold top positions in Google Search.
In this hands-on engineering guide, we walk through the exact 15-step Technical SEO Audit Checklist we use on production WordPress deployments to achieve sub-50ms Time to First Byte (TTFB), clean indexation in Google Search Console, and complete Schema.org Knowledge Graph coverage.
Phase 1: Crawlability & Indexation Directives
1. Verify Your Robots.txt Rules
Your /robots.txt file is the first document Googlebot, Bingbot, and AI search crawlers request before inspecting your pages. A misconfigured disallow rule can block critical CSS/JS assets or allow crawlers to index thousands of internal search result URLs (/?s=...).
- Allow access to
/wp-content/uploads/and theme assets so Googlebot can render your layout accurately. - Block crawl-waste paths such as
/wp-admin/(while allowingadmin-ajax.php),/?s=, and/search/. - Declare your canonical XML sitemap URL at the bottom of the file.
2. Audit XML Sitemaps & Last-Modified Timestamps
WordPress core generates an XML sitemap index at /wp-sitemap.xml, but out of the box it often includes thin tag archives, custom post type stubs, and omits <lastmod> timestamps. For clean search indexation:
- Exclude thin taxonomies (such as single-post tags) and non-editorial custom post types from your XML sitemap.
- Ensure every post and page entry outputs an ISO-8601
<lastmod>timestamp so Googlebot prioritizes freshly updated content. - Submit only the root index (
wp-sitemap.xml) in Google Search Console under both your Domain and URL-Prefix properties.
3. Eliminate Duplicate Canonical & Robots Meta Tags
One of the most common WordPress technical SEO bugs occurs when a theme outputs its own <link rel="canonical"> or <meta name="robots"> tag without unhooking WordPress core’s default rel_canonical and wp_robots actions. Inspect your live page source and confirm that exact one canonical tag and one robots meta directive appear in <head>.
<link rel="canonical" href="https://growthniq.com/technical-seo-audit-checklist-2026/" />
<meta name="robots" content="index, follow, max-image-preview:large, max-snippet:-1" />
4. Enforce Single-Hop HTTPS & Canonical Host Redirects
Every variation of your domain – http://example.com, http://www.example.com, and https://www.example.com – should resolve to your canonical https:// origin in a single 301 Moved Permanently hop. Multi-step redirect chains add 150–300ms of latency on mobile connections and dilute link equity.
Phase 2: On-Page Metadata & SERP Architecture
5. Pixel-Check Every Title Tag and Meta Description
Google truncates desktop title tags around 580–600 pixels (~60 characters) and meta descriptions around 960 pixels (~155–160 characters). Pages with generic titles like “Home – SiteName” or missing meta descriptions suffer significantly lower click-through rates (CTR).
- Keep your primary keyword near the front of your title tag while maintaining natural readability.
- Write action-oriented meta descriptions that clearly summarize the value of your guide or tool.
- Verify your live page metadata and tech stack anytime with our Website Theme Detector, CMS & Technology Checker.
| Metadata Element | Target Length / Spec | Primary SEO Role |
|---|---|---|
Title Tag (<title>) |
50–60 chars (< 600px) | Primary relevance signal & SERP headline |
| Meta Description | 145–160 chars (< 960px) | SERP click-through rate (CTR) pitch |
| Canonical URL | Absolute HTTPS URL | Consolidates ranking signals across URL variants |
Open Graph Image (og:image) |
1200×675 px (WebP/JPG) | Google Discover cards & social shares |
6. Validate Semantic Heading Hierarchy (H1 → H2 → H3)
Every indexable page must contain exactly one <h1> matching the primary topic of the document, followed by logical <h2> section headings and <h3> sub-sections. Never skip heading levels (for example, jumping from <h2> straight to <h4> in footer widgets) as this breaks both screen-reader accessibility and semantic passage indexing. For a deeper dive, read our guide on On-Page SEO Techniques That Actually Move Rankings.
Phase 3: Connected Schema.org Knowledge Graph (JSON-LD)
7. Link Entities With @id References
Instead of outputting isolated JSON-LD snippets, connect your structured data into a unified entity graph:
- Organization (
/#organization): Include your brand name, logoImageObject, contact point, and links to your Editorial Policy and Corrections Policy. - Person (
/#founder): Link article authorship to a verified author profile page with E-E-A-T credentials. - BlogPosting / Article: Reference
/#organizationas publisher and/#founderas author, and includedatePublished,dateModified, andwordCount. - WebApplication & FAQPage: Add
WebApplicationschema on interactive tools andFAQPageschema on pages with visible FAQ accordions.
Learn how to structure connected entities step by step in Schema Markup Explained for Beginners.
Phase 4: Core Web Vitals & Edge Performance
8. Eliminate Render-Blocking CSS and JavaScript
External stylesheets and synchronous scripts in <head> force mobile browsers to pause HTML rendering until every network request completes. Inline critical CSS directly into <head> and apply defer to all non-critical frontend JavaScript bundles.
9. Optimize Largest Contentful Paint (LCP) & Image Delivery
Your above-the-fold hero image or header logo is usually the Largest Contentful Paint element on mobile viewports:
- Serve next-gen WebP or AVIF formats sized to match the actual displayed container dimensions.
- Apply
loading="eager"andfetchpriority="high"to the LCP image, andloading="lazy"to below-the-fold visuals. - Read our step-by-step tutorial on How to Fix a Slow LCP Score in WordPress and our Complete Image SEO Guide.
10. Lock Cumulative Layout Shift (CLS) at 0.000
Layout shifts happen when web fonts swap metrics after initial paint or when dynamic bars and images lack explicit dimensions. Use font-display: optional (with a preloaded primary weight), declare explicit width and height attributes on every <img>, and reserve fixed pixel heights for sticky headers and announcement bars. See our INP & CLS Optimization Guide for code examples.
11. Serve Anonymous HTML From Cloudflare Edge Cache
Configuring Cloudflare Cache Rules with s-maxage=3600 and stale-while-revalidate=86400 for anonymous GET requests (while bypassing /wp-admin/ and logged-in cookies) drops global TTFB from 400ms+ down to 25–40ms.
12. Delay Third-Party Telemetry Until Interaction or Idle
Loading Google Analytics 4 (GA4) or ad scripts synchronously during initial page parse adds 150–300ms of Total Blocking Time (TBT). Queue third-party telemetry to load on first user interaction (scroll, pointerdown, touchstart) or after idle so Lighthouse and real mobile users experience zero main-thread blocking.
Phase 5: Internal Link Architecture & AI Search Readiness
13. Build Hub-and-Spoke Internal Link Clusters
Every blog post should link contextually to 2–4 related articles and relevant interactive utilities (such as our Website Theme Detector and WordPress Theme & Plugin Websites Finder). Internal links with descriptive anchor text pass PageRank and help Google understand topical relationships across your site.
14. Automate Instant Indexing With IndexNow
Don’t wait days for search engines to discover newly published or updated articles. Implement an automated IndexNow ping on post publish so Bing, Yandex, Naver, and partner search engines crawl updates within minutes.
15. Publish an /llms.txt File for AI Search Engines
AI answer engines – including ChatGPT Search, Perplexity, Claude, and Google AI Overviews – increasingly look for a clean Markdown summary at /llms.txt that maps your core tools, documentation hubs, and canonical guides.
Frequently Asked Questions
How often should I run a technical SEO audit on WordPress?
Run a lightweight check in Google Search Console every week to monitor Coverage, Core Web Vitals, and Sitemap status, and perform a full 15-step technical audit whenever you modify your theme, caching rules, or URL structure.
Do I need a heavy SEO plugin if my theme handles technical SEO natively?
No. If your WordPress theme natively outputs clean canonicals, meta descriptions, Open Graph tags, connected JSON-LD Schema, and XML sitemap enhancements, adding a bulky third-party SEO plugin only introduces redundant database queries and admin overhead.